You will need
- - quilling tools (stick with a forked tip, template, awl, tongs, pins)
- - a sheet of A4 paper;
- - hole puncher;
- - scissors - simple and curly;
- - strips for quilling of different widths;
- - colored paper tinted;
- - cardboard - color and white;
- - PVA glue;
- - brush for glue;
- - comb;
- - the pencils;
- - eraser;
- - frame.
Instruction
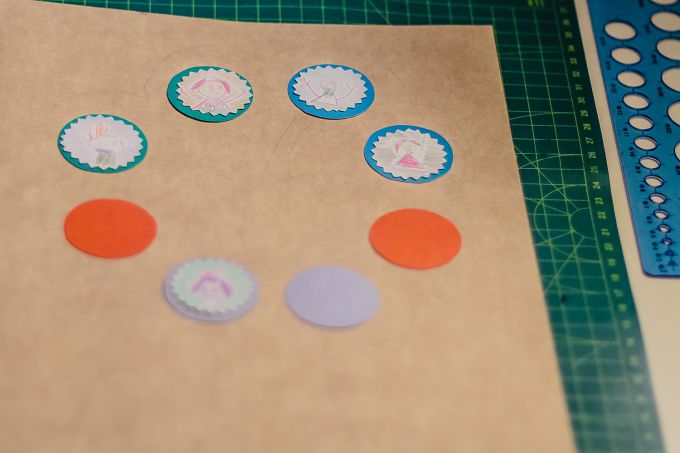
With curly scissors, cut out circles on which the child can draw portraits of their relatives. Tell me what characteristics this or that relative has. Instead, you can stick photos on top of them.
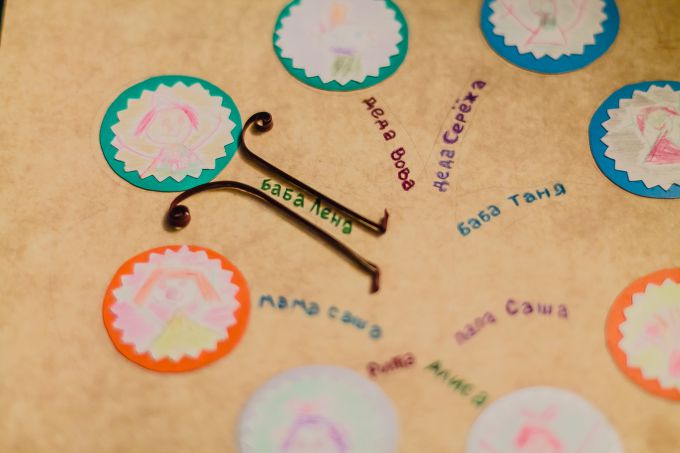
Draw the contours of the future tree on the base sheet, glue portraits at the ends of the branches, which will become apples. And write the names on the branches themselves. All inscriptions must be done before you start gluing the contours and rolls!
It's time to stick the contours of the branches and trunk. Apply glue to the end of the brown strip and attach it to the sheet in the place of the drawn outline. Press for half a minute. PVA should be thick so that the paper does not get wet and sticks securely to the base.
Make rolls from stripes of different brown shades. To do this, clamp the tip of the strip in the sting of the stack and wind it very tightly onto the stack, pressing the edge to your finger. Attach the stack with the roll to the template of the required diameter and release the tip.

When the roll unrolls a little, put PVA glue on the tip of the strip and glue it to the roll. With the help of pins or special templates, such a roll can be turned into a drop, leaf, triangle, etc.

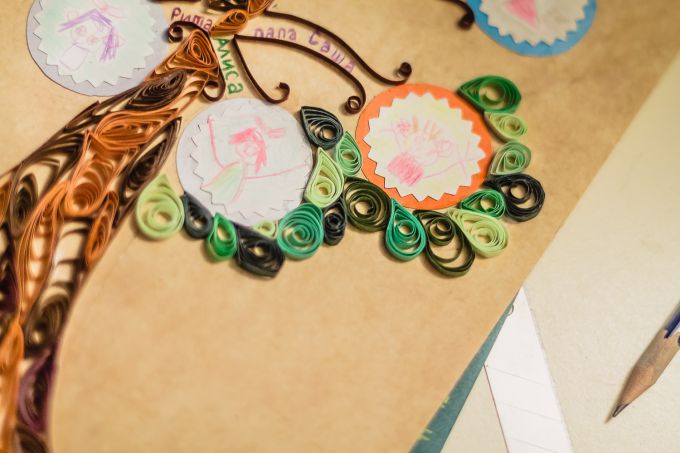
Remove the roll and squeeze it on one side (drop) or both (leaf or eye). This tree is made from such simple shapes in quilling.

Lay out the barrel within the contours, lubricating the bottom of the roll and sides with glue. The crown of leaves is made in the same way - with rolls-drops of different sizes from stripes of various shades of green.
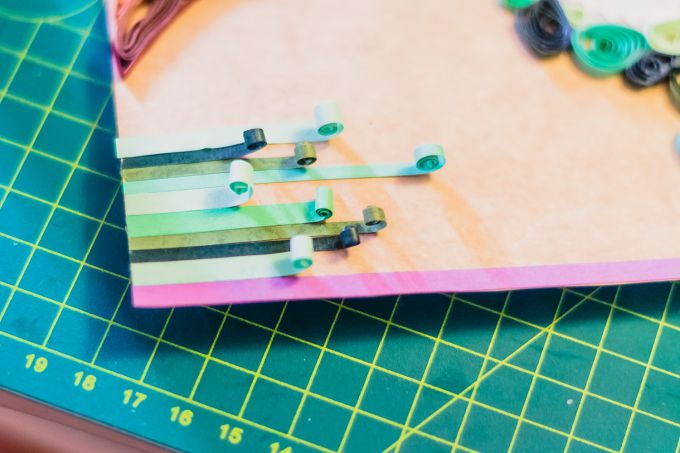
The bottom of the composition should also not be left empty. Grass can be made from the same strips that were used to decorate the crown. To do this, twist one end of the strip into a spiral, and glue the other to the base. If the width and length of the stripes when decorating the grass is different, this will make the picture more interesting.
At the bottom, you can also make a main inscription with the name of the owner of the family tree. To do this, wind the strip around a bottle or glass, fix the end flat with glue and let dry. During this time, you must complete the circle (inscription). Carefully remove the resulting ring and glue it to the base with the end side.
